

My Craft Room Renovation Journey: Turning Chaos into Creativity
- Rebeca Grieco
- Jun 10, 2025
- 4 min read
2 months ago, I embarked on a mission to transform my cluttered, uninspiring craft room into a vibrant, organized space that sparks joy and fuels creativity. The journey was equal parts challenging and rewarding, and I’m excited to share the process, from the initial mess to the final reveal!
The Before: Cluttered Chaos
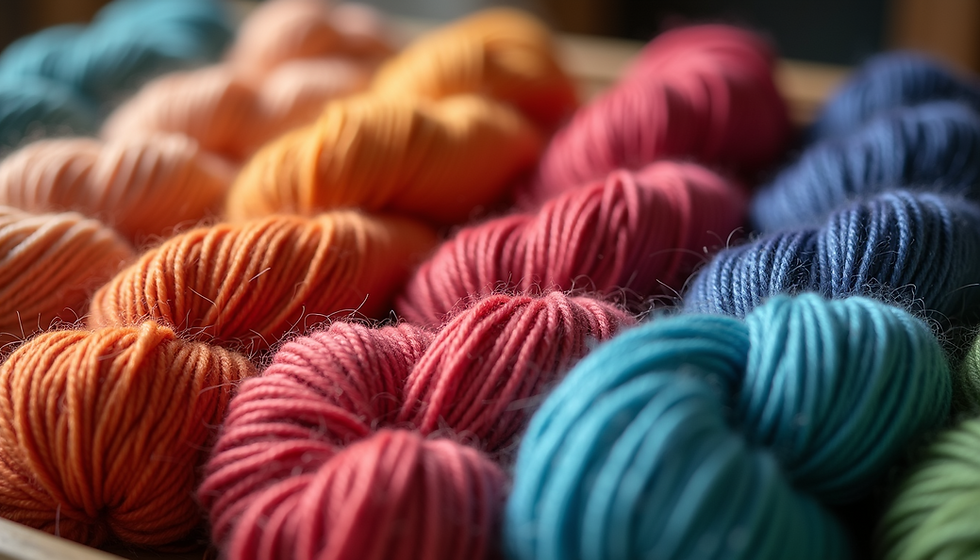
My craft room was a disaster zone, with piles of yarn, half-finished projects, and random supplies spilling out of bags. The lighting was ok, but the storage was inadequate, and the space felt more like a storage closet than a creative haven. I knew it was time for a change. Unfortunately, I do not have many photos of the room in chaos. I was so embarrassed by this; I never wanted any photos taken.

This was all my husband’s idea. He wanted to paint and recarpet. This was the last room on our 2nd floor to be renovated. We both agreed that this would be the perfect time to create my dream space.
The Plan: Designing My Dream Space started with a vision: a bright, organized room with the majority of the space dedicated to crocheting, and room for sewing and general crafting supplies. Here’s how I broke it down:
Storage Solutions: I wanted modular shelving and clear bins to keep supplies accessible but tidy.
Work Surface: A large, sturdy table for laying out projects, computer work and drawing out designs. Lighting: Bright, adjustable lighting to make detailed work easier.
Focus Zone: A calendar board for pinning ideas and tracking progress for the week and month. Comfort: A cozy chair for those long crafting sessions.
I sketched a layout, measured the room (10’6”x10’9” feet).

I didn’t set a budget. I just kept in mind to use as much as I already had.
The Renovation Process:
Step 1: Decluttering
I spent 2 weeks sorting through every item. I donated unused supplies, tossed broken tools, and organized keepers into labeled piles. This was tough. Letting go of “just in case” items is hard for a crafter, but it was liberating.
Step 2: Painting and Lighting
I chose a bright cream color for the walls to add brightness. The older color was a sage and always seemed dark. The lighting was good. I had a 4-bulb ceiling fan, standing Ott light and 2 tiffany lamps to work with. The difference in the paint color alone was like night and day.


Step 3: Furniture and Storage
I had 2 9-cube shelves with an old door on top to serve as a worktable. I ditched the table and stacked the 9-cubes. This freed up a lot of floor space.

I purchased a third 9-cube to store my books.

I had a 3-drawer bin for my finished products. I purchased a 2nd one. I did not need to buy any more large bins. After decluttering, I was able to reuse several.

Step 4: Personal Touches
I hung a calendar board for my focus board, pinning lists of books and patterns, as well as keeping track of progress made during the week. I have 2 magazine publications framed. The first is the first pattern that I had published in a major magazine (Crochet World Spring 2022, Lacy Spring Poncho). I have it in front of my desk to remind me to keep trying. You never know what you can achieve.

The second one is the first pattern I had featured on the cover of a magazine (Crochet World August 2022, Afghan Squared). I placed this one opposite the door, so it is the first thing I see as I walk in.

The hanging plant is artificial for fear I would spill dirty water on a project. Then for a personal touch I added my tiffany lamps and a photo of my grandmother. She was instrumental in my crafting education. She taught me to sew and embroider.

Challenges Along the Way
Not everything went smoothly. Not all my books fit in the 9-cube. The 3-ring binders were too tall. The shelves attached to the desk were taller so that’s where they went. I also underestimated how long it would take to organize my supplies—sorting stitch marker, hooks and safety eyes is no joke! But these hiccups taught me patience and the importance of flexibility.
The Final Reveal
After 2 months of work, my craft room is unrecognizable. The space is bright, organized, and inviting. I have room to walk around now. I now have dedicated most of the room to crochet with dedicated storage space for sewing and other crafts. The calendar board is already filling up with teaching dates, project progress and wish lists of books. I’ve been spending hours there without feeling cramped or overwhelmed.
What I Learned
Plan Thoroughly: Having a clear vision and budget kept me on track.
Declutter Ruthlessly: Less stuff means more space to create.
Invest in Lighting: Good lighting is a game-changer for detailed work.
Make It Yours: Personal touches make the space feel like home.
Final Thoughts
This renovation was more than just a room makeover—it was a reset for my creative energy. I’m already working on a wedding shawl and scarves for donation, and the room feels like an extension of my imagination. I am so pleased with the result; I am no longer calling it my craft room. It has grown into my crochet studio.


If you’re thinking about revamping your craft space, my advice is simple: start small, stay focused, and don’t be afraid to make it uniquely you.
Have you tackled a craft room renovation? I’d love to hear your tips and tricks in the comments!


Looks great!